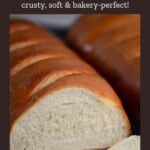
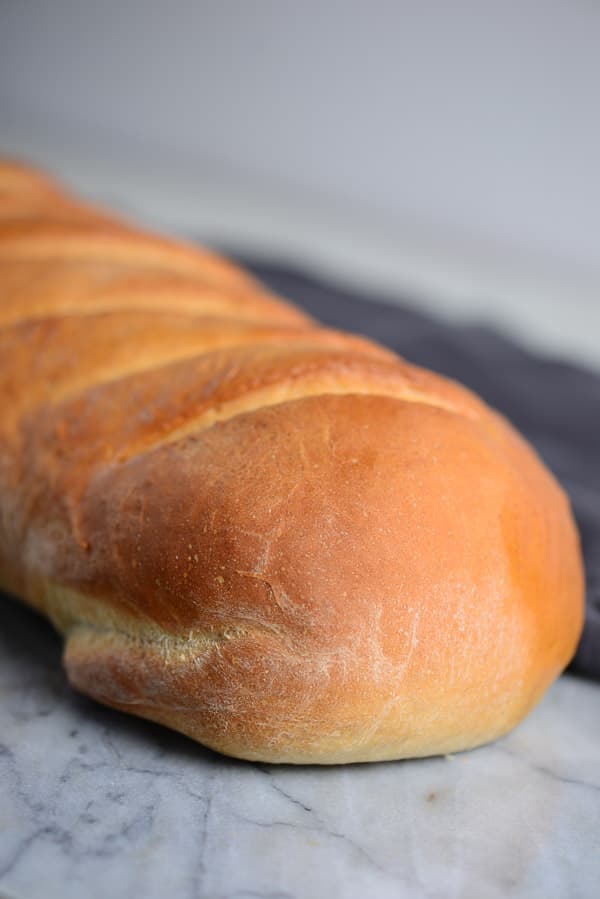
This is a classic french bread recipe. You’ll be amazed at how easy it is to make perfect, crusty- on-the-outside, soft-on-the-inside French bread right in your own kitchen. I’ll talk you through all the tools and tricks for baking perfect bread! Let’s go!!!
I love making homemade bread! Not only does homemade bread taste one thousand percent better than store-bought bread, I completely geek out on all the science behind bread baking.
You may have shied away from making homemade bread in the past because it seemed too hard. Don’t worry, I am going to show you how you can make bakery-quality french bread at home. It is way easier than you’d expect.
It’s Easy: This bread couldn’t be easier, especially if you own a stand mixer(affiliate link). Seriously it comes out perfect every time.
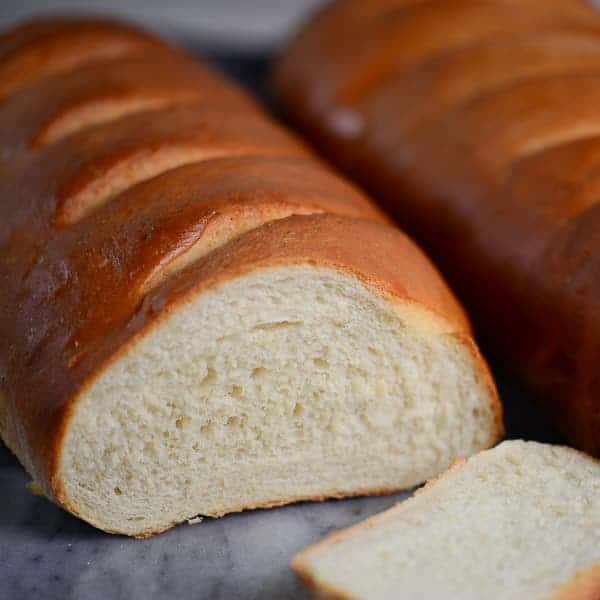
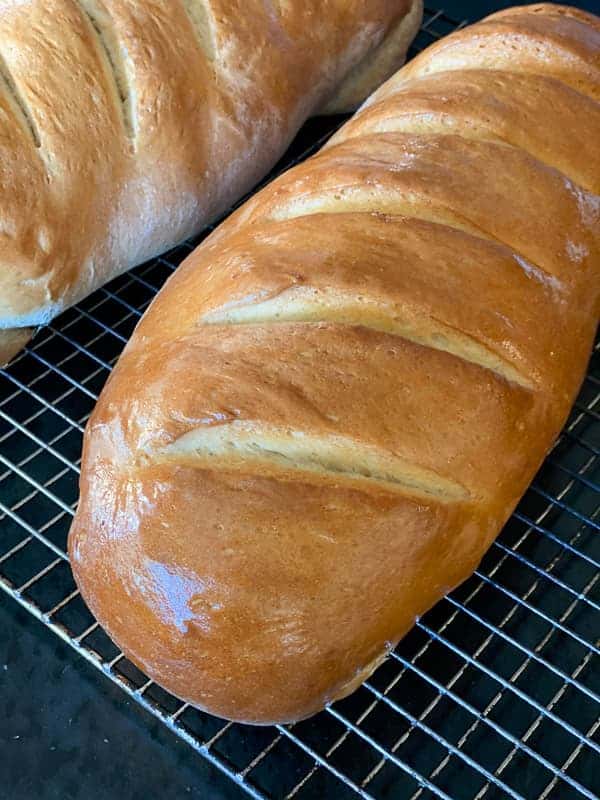
These French Bread Loaves are Beautiful: Not that looks are everything. But, this bakery-style bread bakes up into gorgeous, I mean red carpet gorgeous, loaves of bread.
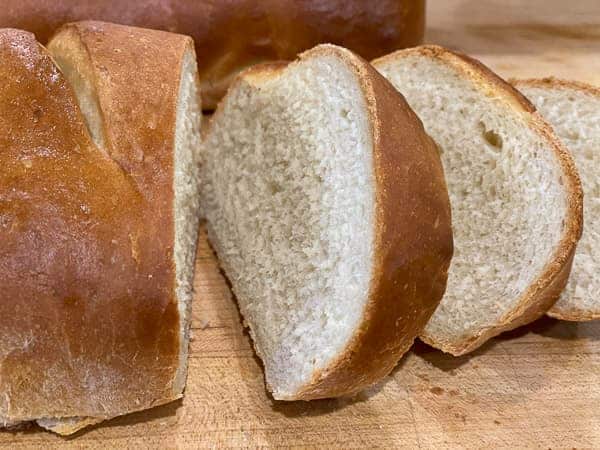
Perfect texture: This french bread bakes up nice and soft on the inside and perfectly crusty on the outside.
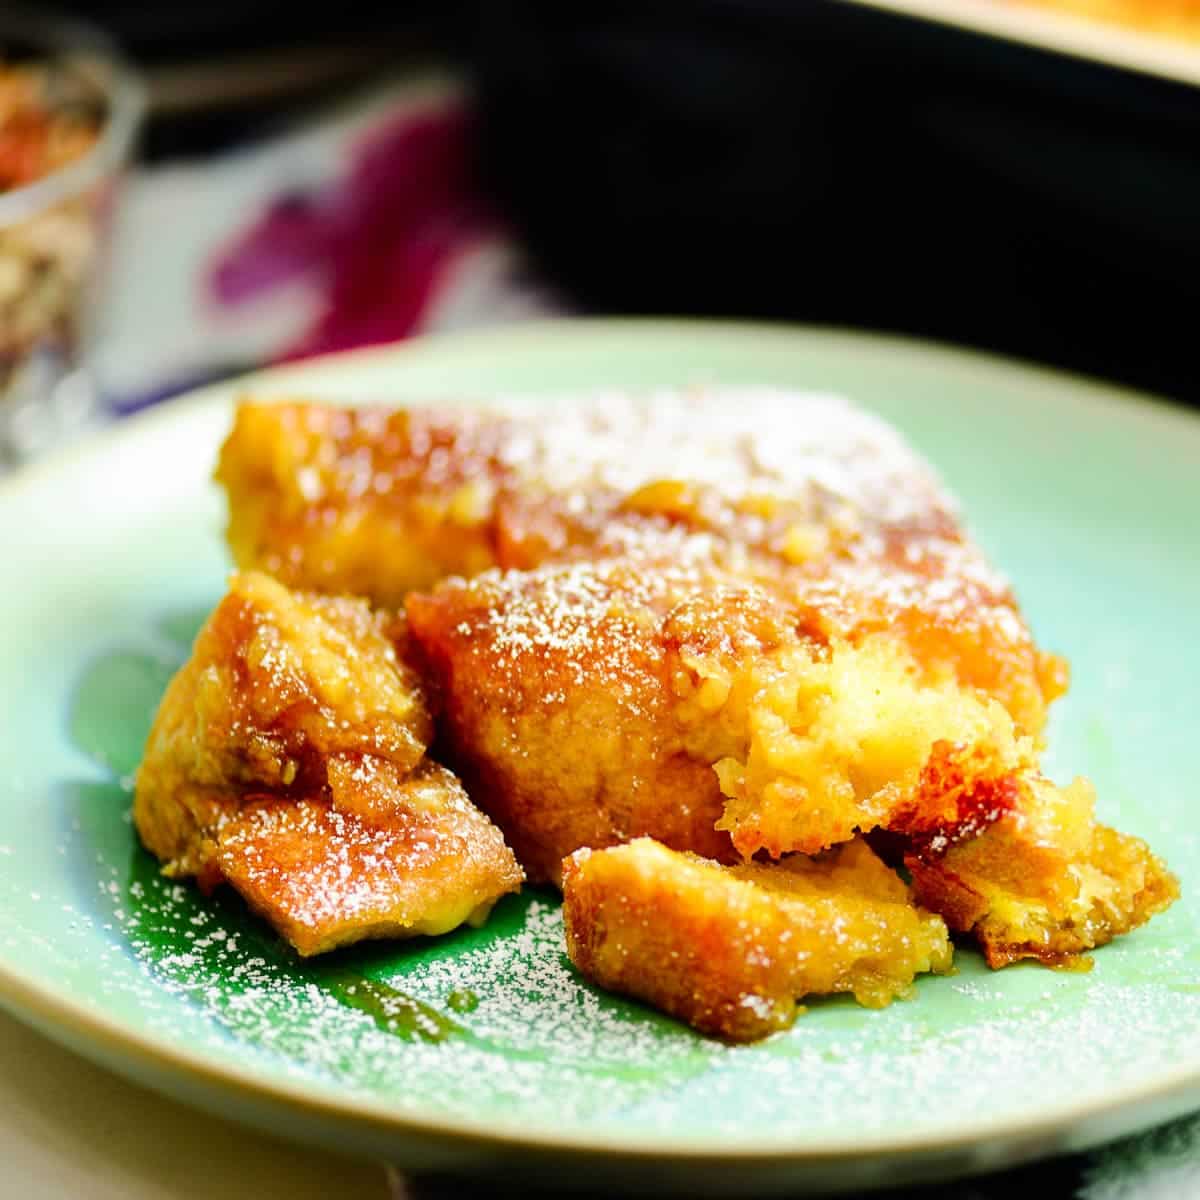
So Many Options: Not only is this bread absolutely fantastic with just a little butter; you can use the leftovers to make other stuff like French Bread Pizza. This is also the best bread for French Toast. You can even use it my Creme Brulee French Toast Casserole.
A Few Tools That you’ll need to make Homemade Bakery French Bread
Baking Sheets:(affiliate link) I use a separate baking sheet for each loaf of bread. I like heavy-duty baking sheets.
I put a lot of extra explanation into the steps of this recipe. Don’t let that scare you.
I just want to make sure that this recipe is as foolproof as possible for you. After you’ve made this recipe a few times, you can literally make this bread in your sleep. After you’ve made your first few loaves, you will get a feel for the steps and what you are looking for at each stage.
[mv_video doNotAutoplayNorOptimizePlacement=”false” doNotOptimizePlacement=”false” jsonLd=”true” key=”js9xu0wi2caqmbostg2c” sticky=”false” thumbnail=”https://mediavine-res.cloudinary.com/video/upload/js9xu0wi2caqmbostg2c.jpg” title=”French Bread Recipe – How to make perfect bakery french bread at home.” volume=”70″]
Ingredients
Dry Yeast: The sponge begins with water, sugar, and dry yeast. The warm water helps to activate the yeast, and the sugar gives the yeast something to feed on, thus bubbles!
Flour: You can use all-purpose or bread flour in this recipe. All-purpose flour will give you a slightly softer loaf. You can also use whole wheat flour in this recipe but expect a denser loaf.
Olive Oil: Olive oil adds moisture and flavor to this dough. I like to use olive oil that has a good flavor.
How to Make French Bread
There’s a lot of instructions in this post, but the steps are simple.
Step 1- Activate the yeast.
Add the dry yeast and sugar into the bowl of your mixer. Add lukewarm water. I like to use a probe thermometer (affiliate link)to make sure my water is between 85 and 95℉. The thermometer isn’t absolutely necessary, but remember, I’m a Geek. I like my measurement tools.
It will take about 5 minutes to see the yeast forming bubble in the water. Then you are ready to start adding the flour.
Step 2 – Make the dough.
Add about 3 cups of the flour to the mixing bowl to start. Mix in this flour at low speed, using the dough hook attachment.
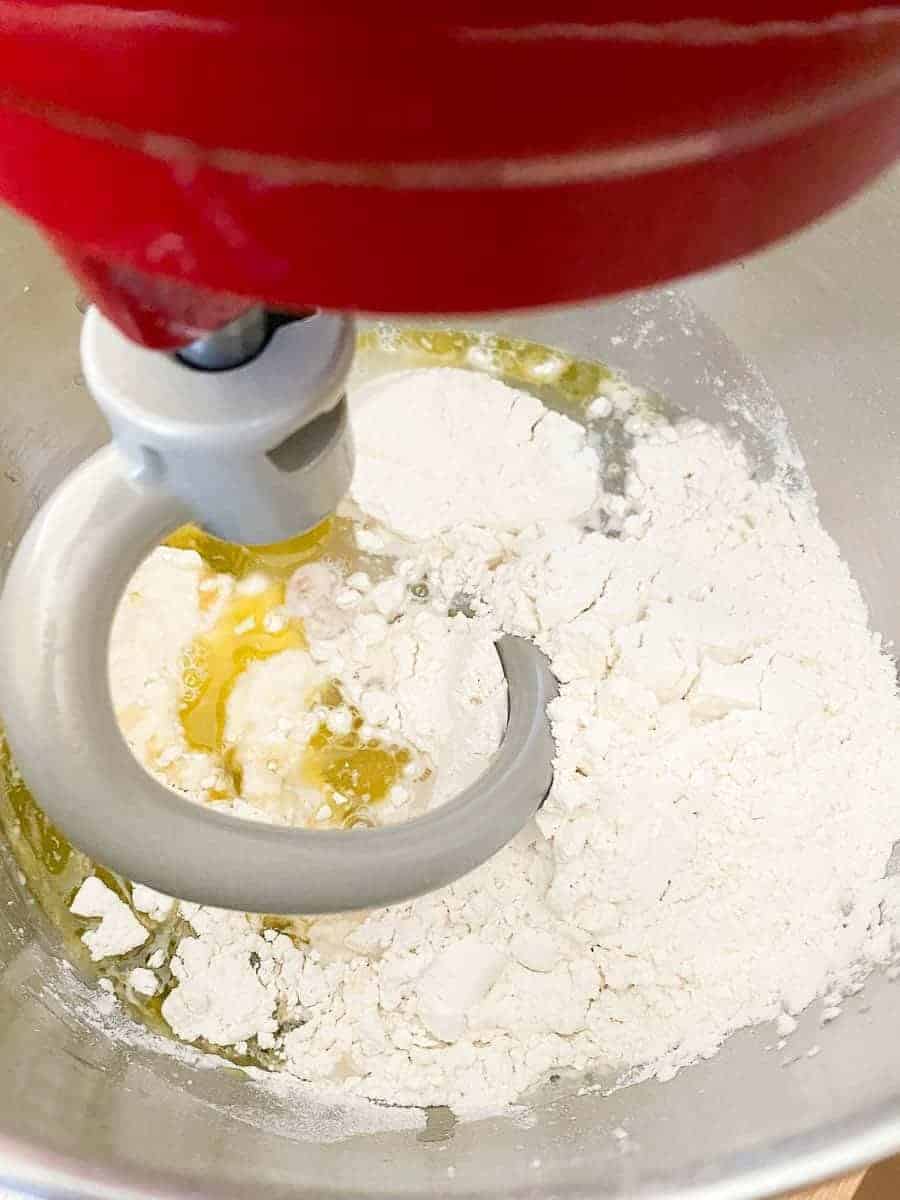
Once the flour is incorporated, add an additional 2 ½ cups of flour, the oil, and the salt.
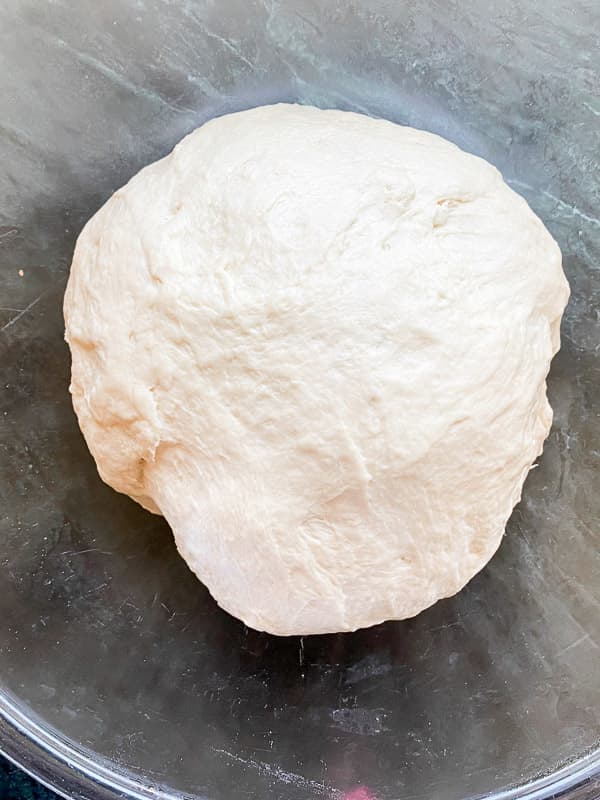
Beat the dough until it forms a soft ball and pulls cleanly away from the sides of the bowl.
Reserve the remaining half-cup of flour to add if you need it. If you can touch the dough with your fingers and your fingers come away clean, then you probably do not need to add additional flour.
Step 3 – First proof
The first proof takes about an hour.
Oil a large bowl and turn the dough into it. Cover the bowl with oiled plastic wrap. (See notes below on proofing.)
Step 4- Shape the loaves and proof again.
Turn out the risen dough on an oiled surface.
Cut the dough in half using your pastry scraper.
Roll each half into a 9×13 inch rectangle.
[mv_video key=”js9xu0wi2caqmbostg2c” volume=”70″ aspectRatio=”true” title=”French Bread Recipe – How to make perfect bakery french bread at home.” thumbnail=”https://mediavine-res.cloudinary.com/video/upload/js9xu0wi2caqmbostg2c.jpg” jsonLd=”true” doNotOptimizePlacement=”false” doNotAutoplayNorOptimizePlacement=”false” sticky=”false”]
Step 5 – Bake
Preheat the oven to 375℉.
I was able to bake both loaves at the same time. If you have a smaller oven, you can bake them one at a time.
(See below for tips on how you can mimic a professional steam infected oven at home.)
I also use my probe thermometer to check the internal temperature of my bread because there is nothing worse than spending all that time waiting just to have bread that is underbaked.
Bread should be 205℉/96℃ on the inside when it is done. You can use this temperature for any bread that you are baking.
Happy Bread Baking! Let me know how your bread comes out.
Other Recipes that you might like:
Creme Brulee Overnight French Toast
This is the perfect make-ahead baked French toast casserole. Overnight French toast is perfect for a weekend bunch or a busy holiday morning. Wake up and throw it in the oven — breakfast is done!
2tablespoonsolive oil, canola oil, vegetable oil or avocado oil
5 ½ – 6cupsall-purpose flour or bread flour, see note
Instructions
Making French Bread Dough
Combine the water, sugar, and yeast in the bowl of your stand mixer. Gently swirl together with your hand.
PRO:TIP: Ideally the water temperature should be around 90°F/32°C. To get the ideal temperature use a microwave to warm the water for about 30 seconds. Measure the temperature with your probe thermometer. Add a little cool water if the water is too hot. (80 to 90°F is fine.)
When the yeast is activated, you should be able to see tiny bubbles. (this might take 3 to 5 minutes)
Add 3 cups of flour to the work bowl of you stand mixer. Attach a dough hook and start to mix on low.
When the flour is mostly incorporated into the dough, add another 2 ½ cups of flour, the salt, and the olive oil.
Turn the mixer up to high and beat the dough until it forms a soft ball, and pulls cleaning away from the sides.
Use the remaining ½ cup of flour if your dough seems too sticky. This is where experience is the best guide.
PRO-TIP: The dough should feel sticky. If you touch the dough and end up with bits of the dough that are stuck to your fingers, then you should add a little bit more flour.
First Proof
Place the dough into an oiled bowl covered with plastic wrap. Let the dough rise until it has doubled in size, about an hour.
PRO-TIP: Proofing is very temperature-dependent. If your house is cold. there are a few things you can do to warm the dough as it is proofing. (see recipe notes below.)
Form the Loaves
Turn the risen dough out onto a greased surface.
Cut the dough into 2 equal halves.
Roll out the dough into two 9 x 13-inch rectangles.
Starting with the long edge, roll the dough into a 13-inch long roll. Press the air out of the dough as you are rolling it.
Once you have a roll, use your fingers to pinch together the edge and seal the bread closed. Then turn the ends under to get nice rounded ends.
Place each loaf on a lined baking sheet. (line with parchment paper or use a silpat.)
Cover the loaves with oiled plastic wrap and let them rise until they have doubled in size, about an hour.
Preheat the oven to 375°Fk/190°C
Use a very sharp knife OR a baker's lame to very gently slash 4 to 5 diagonal cuts across the top of each loaf.
PRO-TIP: Steam injection. Professional bakeries use steam injected ovens to get that perfect crispy crust. You can mimic this at home with a few simple trips (See the recipe notes below.)
Bake for 25 to 30 minutes. The internal temperature of the loaves should be 205°F/96°C
Video
Laura’s Tips + Notes
Tips for Proofing French Bread:
Proof Setting: Some ovens have a proofing setting on them. It is usually about 100°F.
Preheat your oven to 200°F (usually the lowest setting) then turn it off. Proof your sough in the prewarmed oven.
Use a heating pad: I have done this many times. I get out my heating pad, cover it with a layer of foil, then set it to medium. I set my dough bowl, covered with plastic on top.
You can monitor the temperature of the dough with a probe thermometer. Ideally, you don’t want it to drop below 75℉.
Tips for Mimicking Steam Injection:
Place a large iron skillet or roasting ban on the bottom rack of your oven. After you place the bread in the oven add 1 cup of water to the roasting pan. Gently shut the oven door. This initial generation os steam contributes to the perfect french bread crust.
Ice cubes: I have never tried this method myself but have read about it! The principal is the same. After you place the loaves in the oven, toss 1 cup of ice cubes on the floor of your oven. The is will melt, and thus create steam.
This website uses cookies to improve your experience. We'll assume you're ok with this, but you can opt-out if you wish.AcceptRejectRead More
Privacy & Cookies Policy
Privacy Overview
This website uses cookies to improve your experience while you navigate through the website. Out of these, the cookies that are categorized as necessary are stored on your browser as they are essential for the working of basic functionalities of the website. We also use third-party cookies that help us analyze and understand how you use this website. These cookies will be stored in your browser only with your consent. You also have the option to opt-out of these cookies. But opting out of some of these cookies may affect your browsing experience.
Necessary cookies are absolutely essential for the website to function properly. This category only includes cookies that ensures basic functionalities and security features of the website. These cookies do not store any personal information.
Any cookies that may not be particularly necessary for the website to function and is used specifically to collect user personal data via analytics, ads, other embedded contents are termed as non-necessary cookies. It is mandatory to procure user consent prior to running these cookies on your website.