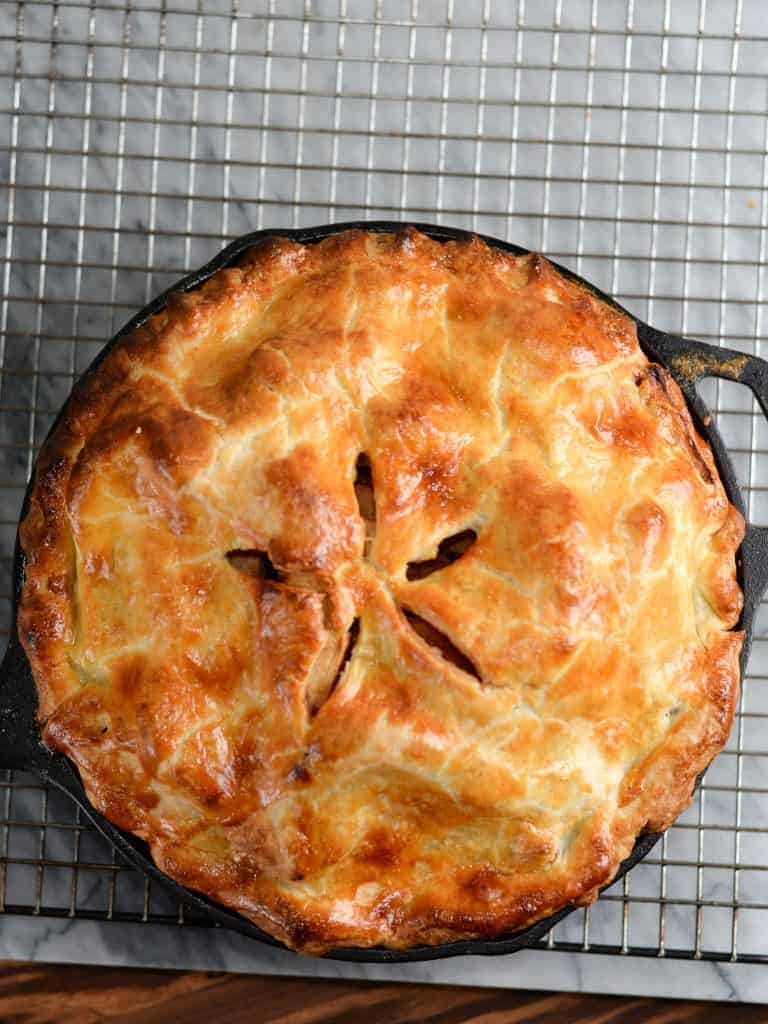
Flaky All-Butter Pie Crust
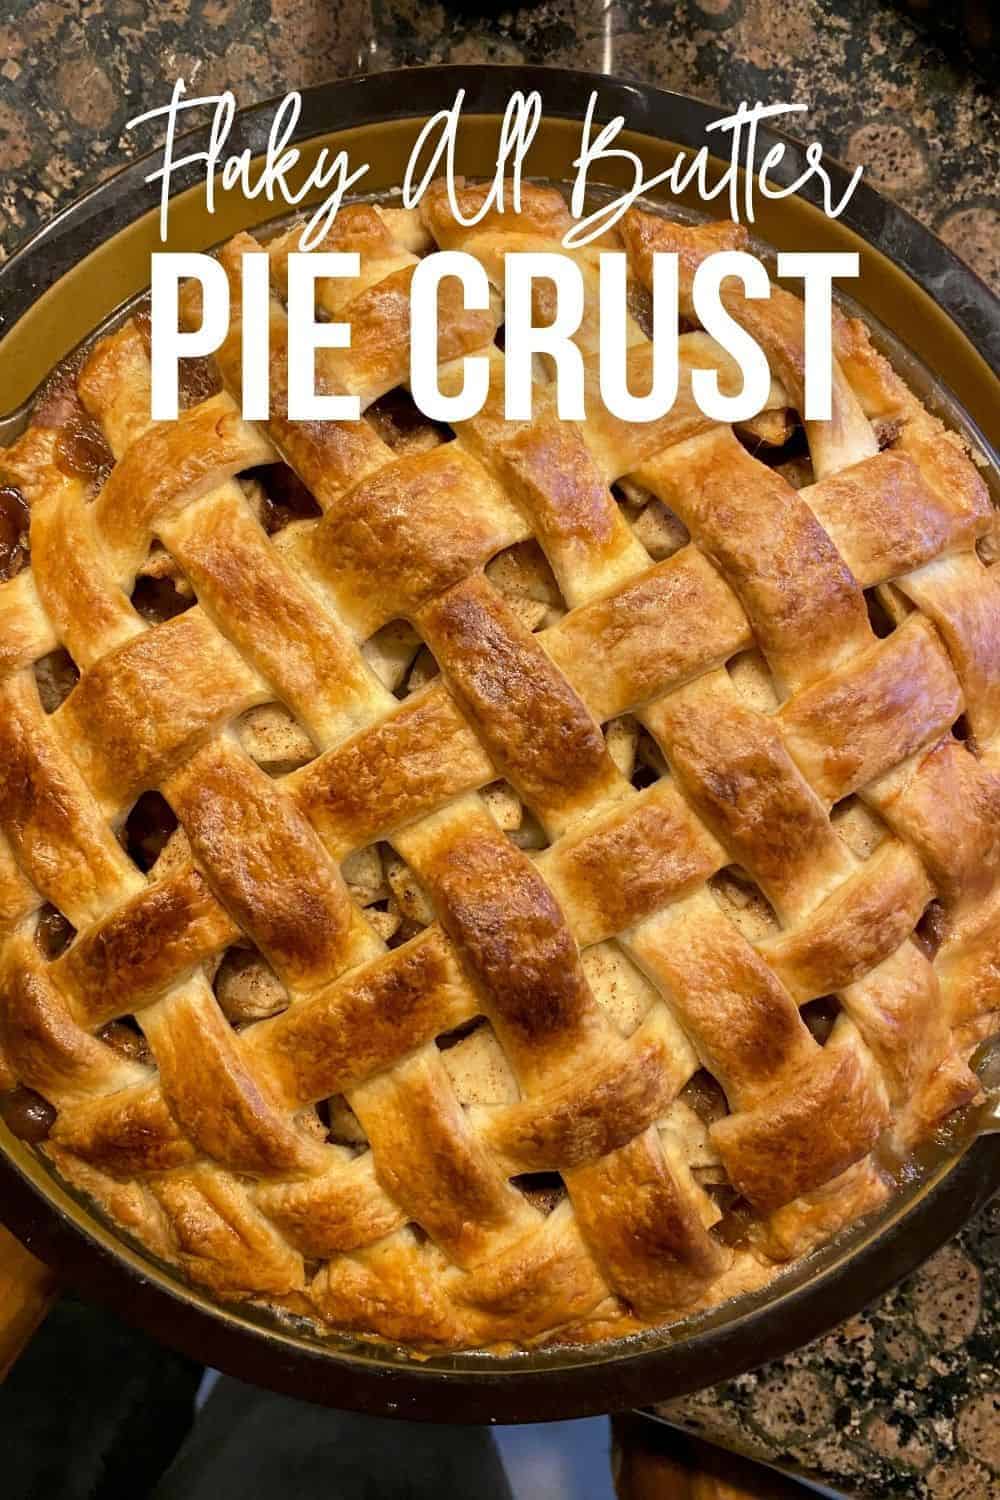

This is my fail-proof recipe for the perfect buttery, flaky pie crust. You can make this all-butter pie crust recipe in your food processor — it is super duper easy!
This butter crust recipe is super simple and comes out perfect every single time.
When I first started Foodology Geek, I wasn’t making a lot of pies. Then all of a sudden, it seemed like I had more pie recipes than I ever imagined was possible.
In the beginning, I was a little bit afraid of making pie crust. Maybe it just seemed too hard. Can you relate? I watched my friends and family produce these gorgeous, catalog-worthy pies, and I figured it was difficult.
But it seemed silly to keep buying premade crusts that didn’t taste all that great. If you’ve been around the blog, you know that I used to miss out on pie because the crust was gross. It became my mission to find a flaky pie crust recipe that came out perfect every single time.
Luckily for all of us, in my attempts at perfecting pie crust once and for all, I found two amazing pie dough recipes that I use over and over again. This easy buttery pie crust recipe is one of them, and the other is my Buttermilk Pie Crust Recipe.
Both of these easy pie dough recipes are fantastic. If I don’t have any buttermilk in the fridge, I usually make this all-butter pie crust recipe.
What You’ll love about this Butter Pie Crust Recipe
- Easy. Making this pie crust is easy. A butter pie crust only has a few ingredients: cold butter, water, flour, and salt. Sugar is optional!
- Versatile. This pie crust can be used for savory or sweet pies.
- Flaky. The super-easy pie crust bakes up flaky and tasty every single time.
- Freezer friendly. This pie dough freezes well, so you can always have a batch ready to go waiting for you in the freezer when the mood strikes for some apple pie!
Ingredients for Making a Butter Pie Crust
- Flour: I use all-purpose flour for this recipe. My go-to flour is King Arthur. I use their flour almost exclusively for all of my baking.
- Salt: Use a high-quality salt like Kosher salt, sea salt, or Himalayan salt.
- Sugar: I use organic granulated sugar, but regular granulated sugar is fine as well. Feel free to leave out the sugar if you are baking a savory pie.
- Butter: Use unsalted butter and make sure your butter is very cold. Either take it right out of the fridge, or pop it into the freezer for a couple minutes.
- Ice-water: Fill a half cup measuring cup with ice and then with water. You won’t use all of this water, but you will want to have enough ice cold water on hand.
How to Make Perfect Pie Dough
There are two ways to make this pie crust: by hand or with a food processor. I tend to use the food processor almost all the time. I do not find a significant difference in the flakiness of my pie crust between the hand-done one and the one made in the food processor. The key with both is to work quickly so you’re not overworking the dough.
Food Processor Instructions for Pie Crust
- Dry ingredients: Mix the dry ingredients together in the work bowl (fitted with the metal blade). Pulse a few times to mix.
- Butter: Dice the butter and add it to the work bowl, and pulse until the mixture resembles coarse sand.
- Ice water: Turn on the food processor and with it running, slowly add the water, a little bit at a time. Add just enough water to see the dough start to come together and pull off of the sides.
- Turn out: Dump the pie dough onto a floured surface: Using your hands, bring the dough together into a ball.
- Rest: Cut the dough in half and form it into two equally sized disks. Wrap in plastic and refrigerate for at least four hours.
Hand-Made Instructions for Pie Crust
- Dry ingredients: Mix the dry ingredients together in a bowl and whisk them together.
- Butter: Dice and add the butter to the work bowl. Use your fingers or a pastry cutter (affiliate link) to cut the butter into the dough.
- Ice water: Add half cup of water and mix it into the dough using a spatula.
- Turn out: Dump the pie dough onto A floured surface. Using your hands, bring the dough together into a ball.
- Rest: Cut the dough in half and form it into two equally sized disks. Wrap in plastic and refrigerate for at least four hours.
PRO-TIP: Freeze your butter for at least 30 minutes and use a box grater to grate it. Add the frozen shredded butter to the flour mixture. This step is an easy way to skip over having to worry about if you cut your butter into the flour properly. It’s perfect every time.
How to Blind Bake A Pie Crust
You will see that some pie recipes ask you to “blind-bake” the crust.
All this means is that you bake the crust before adding the filling to the pie pan. This is most commonly seen in cream pies or no-bake pies, like my Banana Cream Pie Recipe.
It’s common to run into some issues when blind baking a crust. Two of these issues are crust shrinkage, or the opposite, having the crust puff up too much. You can easily solve these issues by following the steps below.
Steps to blind baking a pie crust
- Make a pie dough: Of course, I recommend either the simple pie dough in this post OR my Buttermilk Pie Crust Recipe. You will only need a half recipe using one of my recipes. Keep in mind you can always make the full recipe and freeze half for later.
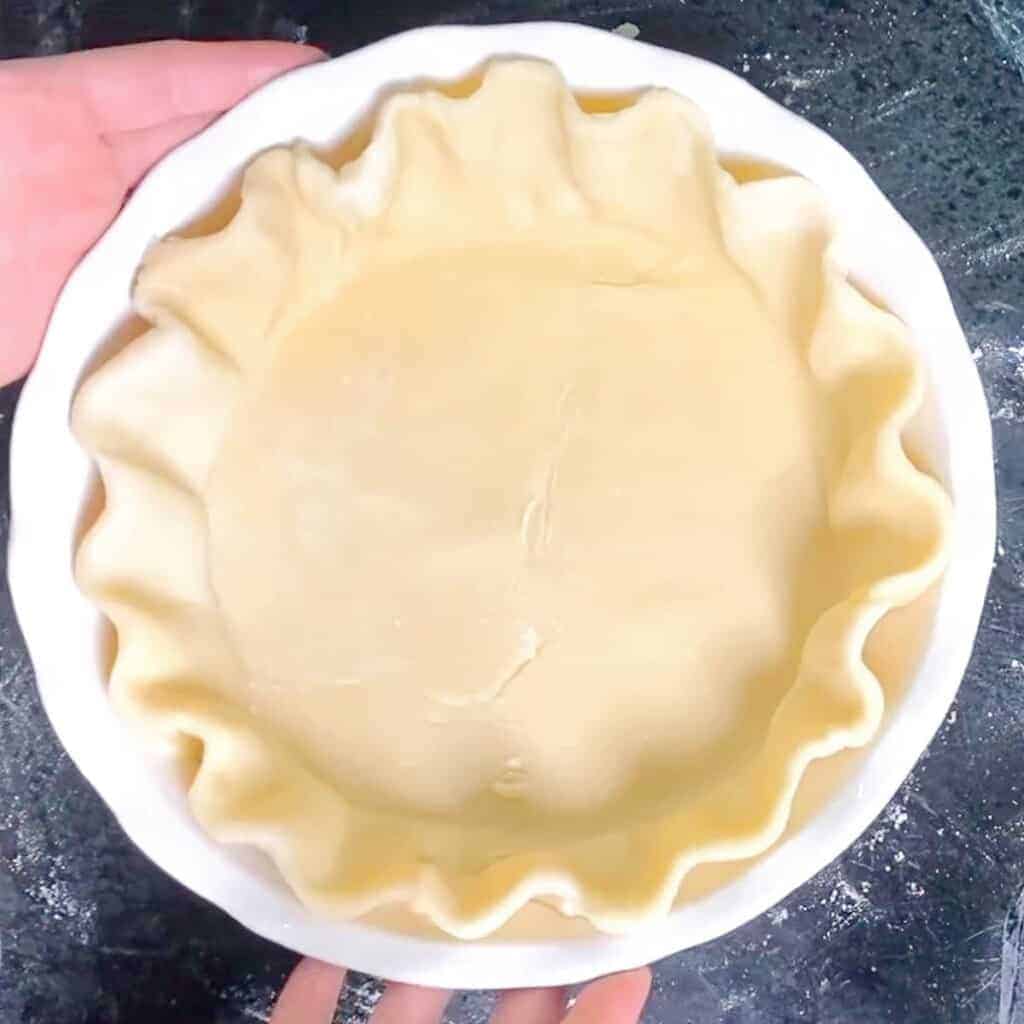
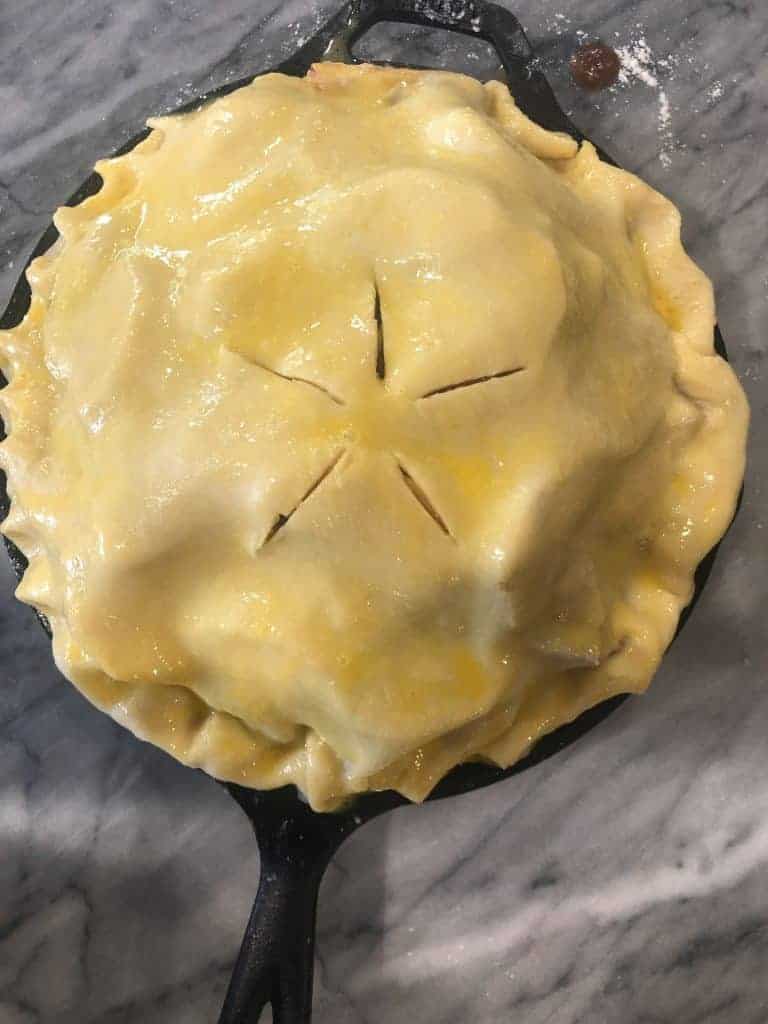
- Roll Out: Roll out the pie dough using a rolling pin and place it in your dish. You can do a simple fluted edge by pressing indents along the edge of the pie plate with your fingers.
- Chill: For the flakiest pie crust, keep it cool! Refrigerate the dough in the pie dish for at least four hours or overnight. I have frozen my pie crust for an hour if I’m short on time. Chilling the pie dough helps prevent shrinkage. The colder the butter and water are in your pie dough, the more flakiness you will get when the pie bakes.
- Parchment Paper: Cover the chilled crust with parchment paper. Add pie weights (affiliate link) or dried beans to weigh down the parchment paper.
- Bake: Preheat the oven to 400℉. Bake for 15-16 minutes, until the edges begin to brown.
- Dock the crust: Remove the pie crust from the oven and carefully remove the parchment and the pie weights. Use a fork to puncture the bottom of the crust. Poke the crust all along the bottom about every inch or two. This will help keep the crust from puffing up.
- Finish baking: For a fully baked crust, you will continue to bake for another 14 to 15 minutes. For a partially baked crust, you will bake for another 7 to 8 minutes. If you notice that the edges are getting too brown too quickly, cover the edges with a little bit of loosely crimped aluminum foil.
More Pie Recipes to try
- Homemade Pumpkin Pie
- Classic Southern Pecan Pie
- Banana Cream Pie
- Vegan Pumpkin Pie
- Mini Blueberry Hand Pies
No posts
Did you love this recipe?
Please leave a 5-star 🌟🌟🌟🌟🌟 rating and a comment below ⬇️
I love hearing from you in the comments; & your feedback helps other readers and helps me continue offering recipes at no cost. Drop a comment 👇

Buttery Flaky Pie Crust Recipe
Equipment
- food processor (affiliate link)
Ingredients
- 2 ½ cups all-purpose flour
- 2 tsp sugar (affiliate link), up to 2 Tbsp sugar
- 1 tsp kosher salt (affiliate link)
- 1 cup unsalted butter, chilled and diced
- ½ cup ice water, (you won't use all of this water)
Instructions
How To Make Pie Dough
- Add the flour, sugar, and salt to the food processor bowl, fitted with the metal blade attachment. Pulse a few times to blend dry ingredients.
- Add the cold diced butter to work bowl. Pulse until the mixture resembles coarse sand.
- Add a few tablespoons of the ice water via the liquid cup dispenser. Pulse until the mixture comes together. You might need to add a few more tablespoons of water. The dough should pull off of the sides of the bowl.
- Turn out on a lightly floured surface. Use your hands to work the dough together. Cut the dough in half and form two equally sized discs.
- Wrap each disc in plastic wrap and refrigerate overnight (at least 4 hours).
- When you're ready to bake, take the pie dough out of the fridge and let it warm for 10-20 minutes before rolling.
- I recommend rechilling the pie dough after you've rolled it out.
Blind Baking A Pie Crust
- Roll out the pie dough using a rolling pin and place it in your dish. You can do a simple fluted edge by pressing indents along the edge of the pie plate with your fingers.
- Refrigerate the dough in the pie dish for at least four hours or overnight. I have frozen my pie crust for an hour if I'm short on time. Chilling the pie dough helps prevent shrinkage. The colder the butter and water are in your pie dough, the more flakiness you will get when the pie bakes.
- Cover the chilled crust with parchment paper. It helps to crumple up the parchment paper flatten it out again and then place it into the crust. Add pie weights (affiliate link) or dried beans to weigh down the parchment paper.
- Preheat the oven to 400℉. Bake for 15-16 minutes, until the edges begin to brown.
- Remove the pie crust from the oven and carefully remove the parchment and the pie weights. Use a fork to puncture the bottom of the crust. Poke the crust all along the bottom, about every inch or two. This will help keep the crust from puffing up.
- For a fully baked crust, you will continue to bake for another 14 to 15 minutes. For a partially baked crust, you will bake for another 7 to 8 minutes. If you notice that the edges are getting too brown too quickly, cover the edges with a little bit of loosely crimped aluminum foil.
Video
Laura’s Tips + Notes
YOUR OWN NOTES
Sign In to add your own private notes